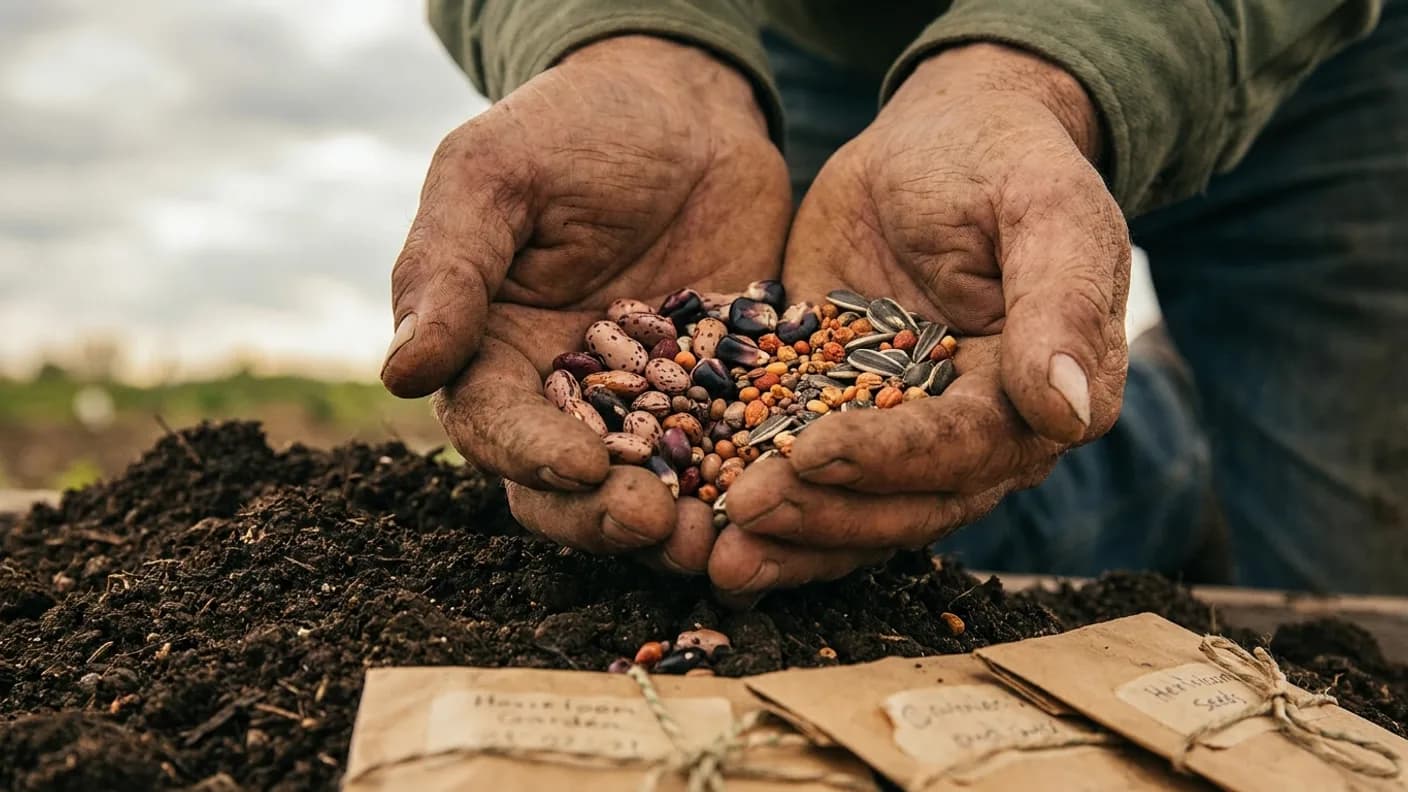
Every seed is a living organism in a state of dormancy. Inside it sleeps a tiny plant waiting for the right moment to wake up. How long it will patiently wait, and whether it will wake up at all, depends not only on the quality of the seed but above all on how you store it. A packet of open-pollinated seed of an old variety can grow your garden for a full five or six years if it is stored correctly, or disappoint you with an empty bed as soon as the following season if it sat on a damp shelf above the stove.
In this guide we go through everything you need to know: how to store seed so it lasts as long as possible, how many years each vegetable germinates for, how to check at home whether the seed is still alive before you spend an entire season, and how to save your own seed from the garden.
Four enemies and four rules of storage
Seed always ages; that is a natural process we cannot stop. But we can slow it down greatly. Germination is destroyed by four things: moisture, heat, light and air. That is why the rules of good storage come down to defeating each of these enemies.
- COLD — every 5 to 6 °C less roughly doubles the lifespan of the seed. The ideal is 5 to 10 °C, and the refrigerator is an excellent choice. The key is that the temperature stays stable, without swings.
- DRY — moisture is the biggest killer. The seed must be completely dry before storing, and the surroundings dry too. Rule of thumb: the sum of the temperature (°C) and the relative humidity (%) should not exceed 50.
- DARK — light, especially direct sun, drives processes in the seed and heats it up. Keep it in opaque packaging or a closed box.
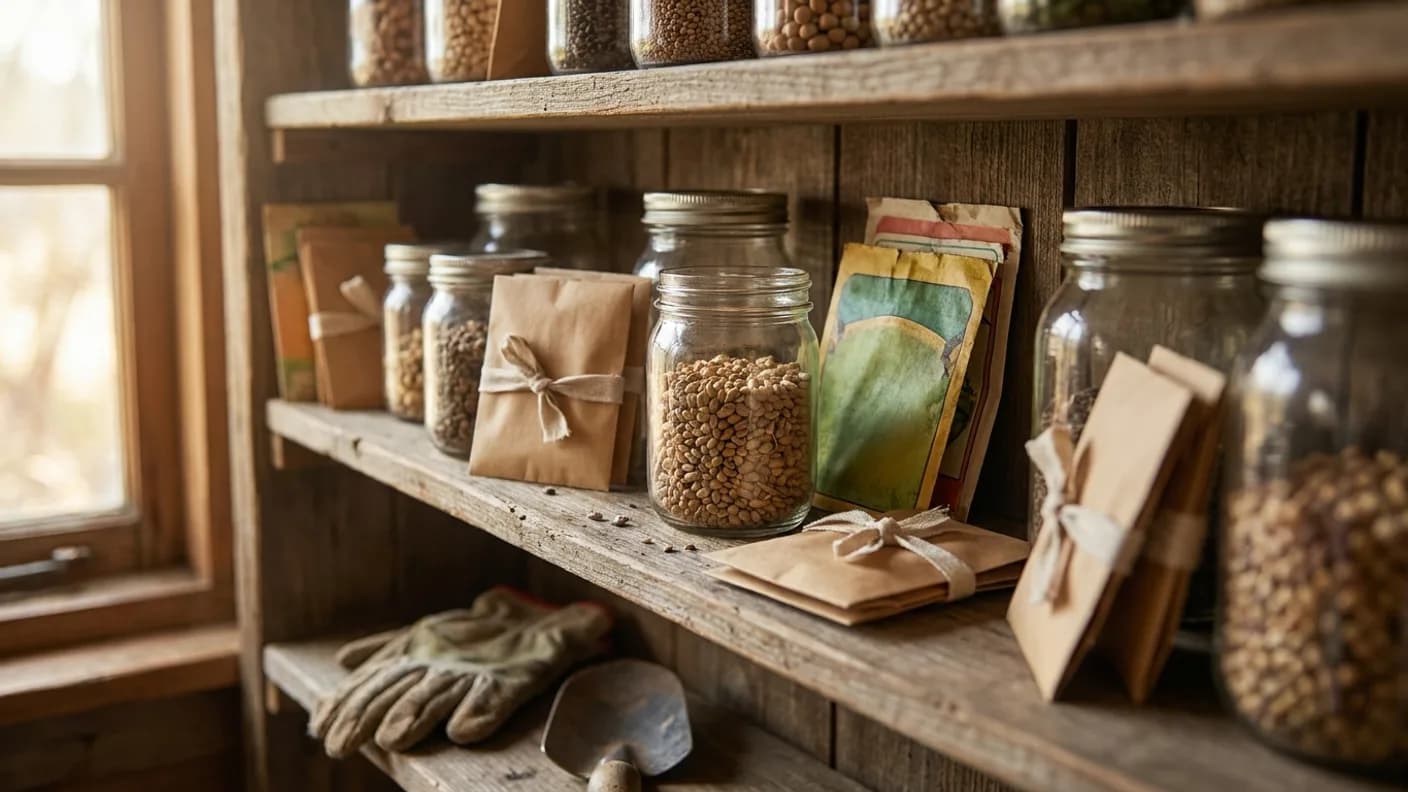
- AIRTIGHT — once the seed is dry, seal it off from air and airborne moisture. Jars with a seal, zip-lock bags or vacuum bags do an excellent job.
A practical recipe used even by professionals: dry seed in a paper bag, the paper bags in a jar with a lid, inside a sachet of silica gel or a teaspoon of rice in a paper tissue to absorb moisture, and all of that in the refrigerator. Silica gel, once saturated, can be dried in the oven and used again.
How long each vegetable germinates
Not all types have the same endurance. Some seeds are short-lived by nature and are best used fresh, while others stay vital for years. The figures in the table refer to seed stored in good conditions (cold, dry, dark). With poor storage these years are easily halved.
| Vegetable | Average viability | Note |
|---|---|---|
| Tomato | 4 – 6 years | Very durable, often germinates even after 8 years |
| Pepper and chili | 2 – 4 years | Germination noticeably drops after year 3 |
| Lettuce | 3 – 5 years | Holds well, but likes cold storage |
| Carrot | 3 – 4 years | More delicate seed, best up to year 2 |
| Onion | 1 – 2 years | Short-lived — sow as fresh as possible |
| Courgettes and squash | 4 – 6 years | Large seed, very stable |
| Cucumbers | 5 – 7 years | One of the most durable |
| Beans and pods | 3 – 4 years | Store dry, sensitive to moisture and insects |
| Peas | 3 years | Similar to beans |
| Spinach | 2 – 3 years | Loses germination quickly |
| Beetroot and chard | 4 – 5 years | Stable seed |
| Parsley and parsnip | 1 – 2 years | Very short-lived, buy fresh |
Remember these groups: onion, parsley, parsnip and spinach are sprinters you use up quickly. Tomato, cucumbers, courgettes and beans are marathon runners you can rely on for several years. When buying seed, always look for the harvest year and expiry date on the packet — a quality supplier states this clearly.
Home germination test with a paper towel
Before you sow old seed in spring and wait weeks for something to sprout, spend five minutes on a test. The paper towel method is the simplest way to find out the exact germination percentage and avoid an empty bed.
Step by step
- Count out 10 seeds from the packet (the number 10 because the percentage is easy to calculate).
- Moisten a paper towel so it is damp, but not dripping water.
- Line up the seeds on one half of the towel, spaced apart, then fold it over them.
- Roll up the towel or place it in a closed transparent bag or plastic box to retain moisture.
- Keep it in a warm place, around 20 to 25 °C (top of the fridge, near a radiator, a warm room).
- Check every day that the towel stays damp and that no mould appears; spray as needed.
- After the germination period for that type (usually 5 to 14 days) count how many seeds have sprouted.
The maths is simple: 8 sprouted out of 10 means 80 percent germination. Above 80 percent the seed is excellent, sow normally. Between 50 and 70 percent the seed is still usable, but sow more densely to make up for the loss. Below 50 percent it is worth buying new, unless it is a rare variety you are preserving. Do not throw away the sprouted seeds from the test — transplant them gently, they already have a head start of a few days.
Signs of bad or dead seed
Some things are visible to the naked eye even before the test. Discard the seed if you notice this:
- A smell of mould or mustiness — a clear sign that the seed has been exposed to moisture.
- Visible mould, dark spots or a slimy coating on the seeds.
- Seed that crumbles, falls apart, or is hollow and empty when you squeeze it.
- Small holes or tiny openings — a trace that weevils or other pests were inside (especially with beans and peas).
- Seed that floats: drop it into a glass of water, empty and unfertilised seed usually floats up, while full and healthy seed sinks (this does not hold for every single type, but is a useful quick test).
- An unusually pale, faded colour on seed that should be darker — a sign of age or exposure to light.
The most common mistakes that ruin germination
- Storing insufficiently dry seed — moisture trapped in an airtight container guarantees mould.
- Keeping it in the kitchen or near the stove where temperature and humidity are high and constantly changing.
- Leaving packets on the windowsill or in the light.
- Opening a cold jar from the fridge and putting it back inside — moisture gets in every time.
- Plastic bags that do not breathe, in which residual moisture remains — paper inside a jar is better.
- Lack of labels — the variety and year are forgotten too quickly; always write the type and date on every bag.
- Keeping seed in the garage or basement where there are sudden temperature changes and condensation.
Saving your own seed from the garden
The greatest advantage of open-pollinated, old varieties is that you can collect seed from them yourself year after year and it stays true to the parent. With hybrids (marked F1) this does not apply — the offspring is unpredictable. That is why we choose open-pollinated varieties when we want our own seed.
The basic procedure
- Choose seed from the healthiest and best plants, never from weak or diseased ones — you decide what the next generation will be like.
- Let the fruit ripen fully, even past the eating stage: the tomato soft and overripe, the courgette with a hard skin, the bean dry in the pod on the plant.
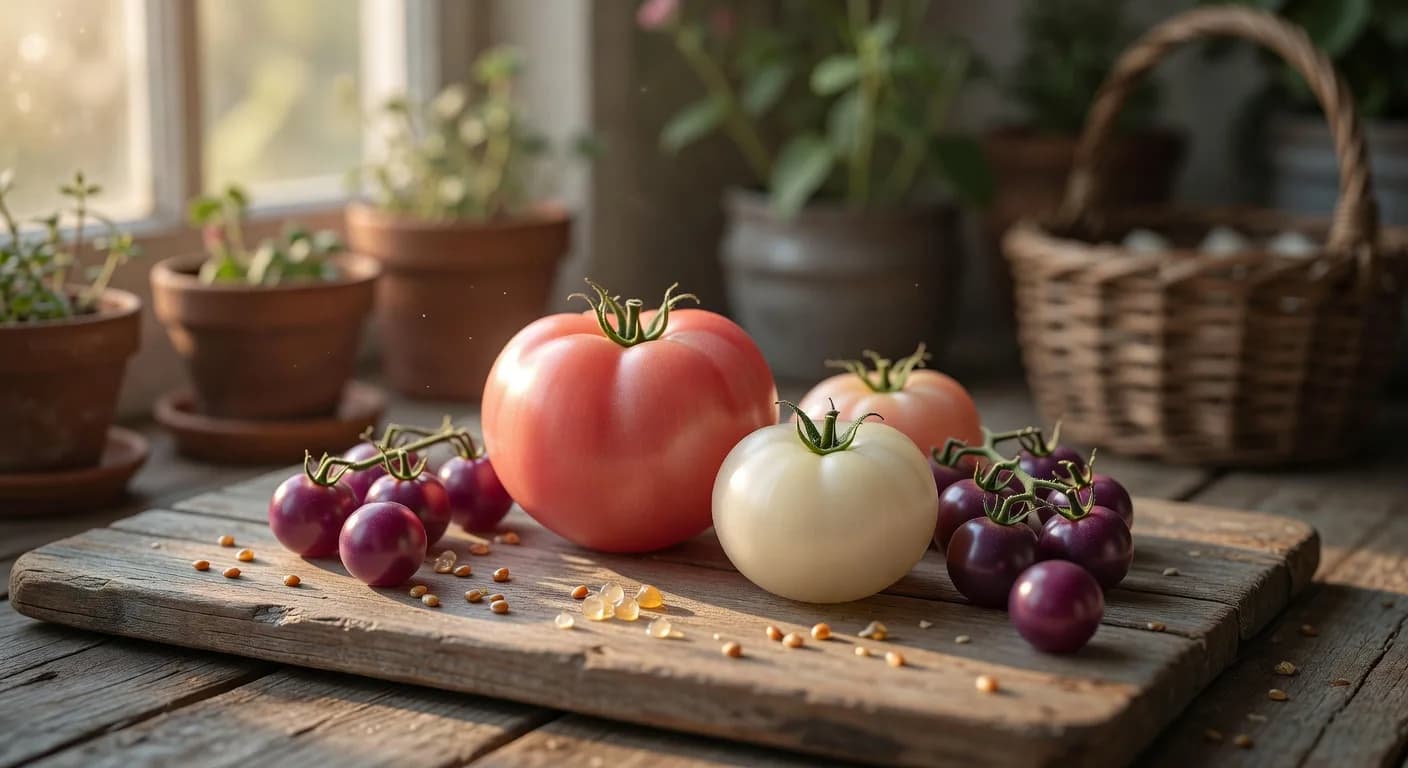
- With tomatoes, cucumbers and courgettes the seed is in a moist environment — take it out, rinse it and dry it.
- The tomato has a special step: leave the seed with its pulp for 2 to 4 days in a glass of water to ferment (this removes the protective layer and pathogens), then rinse and dry.
- Dry on paper or a sieve in a warm, airy place out of direct sun, from a few days to two weeks — the seed must be hard and brittle, not bendable.
- Dry beans and peas in the pods and only then take them out; check that there are no weevils.
- Store in paper bags, label the variety and year, and keep cold, dry and dark just like bought seed.
Why seed quality at the start changes everything
All the storage rules only make sense if you start with good seed. You cannot improve germination, only slow its decline — and it depends on how vital the seed was and how properly it was ripened and dried by the producer. Cheap seed of unknown origin often arrives already with low germination, so not even the best refrigerator helps.
That is why our range holds open-pollinated and old varieties with a clearly stated harvest year and verified germination. Such seed not only sprouts better, but also allows you to collect your own and, over the years, build a variety adapted to your very own garden. Invest in a quality start, store it by the rules from this guide, and a single packet will feed your garden for years.